How many times have you found yourself clicking on the “Images” tab in Google search results instead of sifting through text-based links?
It’s no secret that images and visual assets are inherently captivating and more appealing to the eye. Whether you’re searching for an image, an infographic, statistics, or a product, visuals have a way of drawing us in.
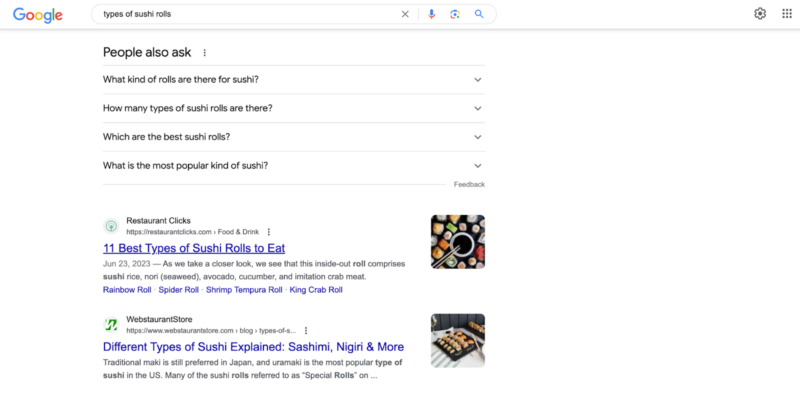
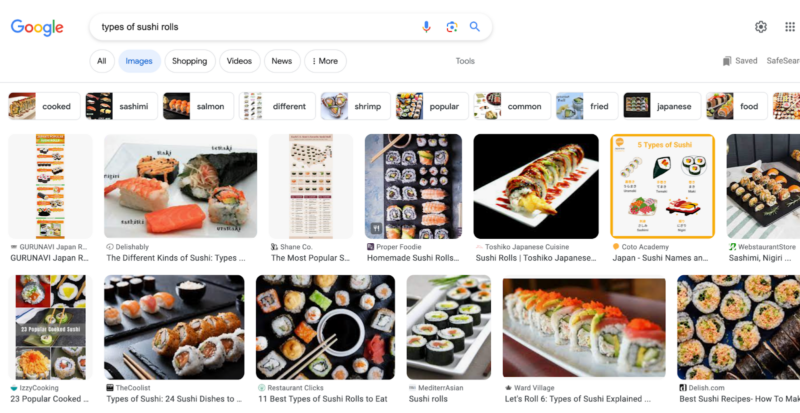
Consider this scenario: You search for “Types of Sushi Rolls” on Google. While the text-based results provide valuable information, it’s the images section that truly grabs your attention.

The stark difference between how search results are displayed in the images section is like night and day.

Now, picture this: Whenever potential customers search for a relevant product or service, not only does your business appear at the top of the search engine results pages (SERPs), but it also dominates the image search results.
Imagine the impact on your visibility and the potential to attract more interested users.
If you’ve been wondering how to secure those top spots on Google’s image search results, you’re in the right place!
In this blog post, we’ll delve into everything you can do to optimize your images and significantly improve your chances of claiming those coveted top positions in image search results.
The Role of Visuals in Search Engine Rankings & Image Search Results
Here’s a mind-boggling statistic: According to a study by Social Media Today, images account for a staggering 19% of all search results, making them a substantial component of online searches.
Yes, you read that right!
Images hold significant weight in online searches, and that’s why optimizing them is crucial. By optimizing your images, you increase their visibility and boost your chances of capturing the attention of users.
Image Optimization is the process of fine-tuning your website’s visuals to ensure they shine in search engine rankings and image search results. It’s like giving your images a makeover, making them more appealing and attractive to both users and search engines.
But how can we optimize our images to secure those coveted top spots in Google’s image search results?
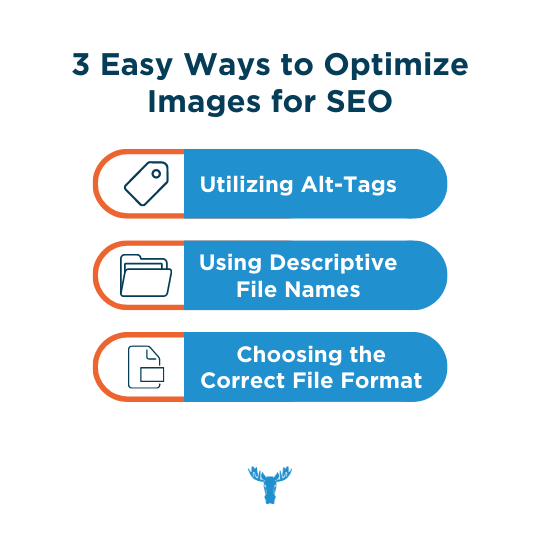
There are three key strategies we’ll explore:

In the following sections, we will delve into each of these image optimization tips with a magnifying glass. We’ll leave no stone unturned as we explore and explain each strategy in greater detail.
Tip #1: Utilizing Alt-Tags for Image Optimization
An Alt-Tag, also known as an alt attribute or alt description, is an HTML attribute that provides alternative text for an image. It serves as a textual representation of the image content, allowing search engines and assistive technologies to understand what the image is about.
Alt-tags play an important role in SEO for several reasons.
First and foremost, they provide context to search engines, helping them comprehend the content and relevance of your images.
When you optimize your alt-tags with descriptive and keyword-rich text, you enhance the chances of your images appearing in relevant search results. It’s like providing search engines with a roadmap to understand and rank your visuals.
But alt-tags are not just important for SEO. They also play a significant role in web accessibility. Some users may have disabilities or visual impairments and rely on assistive technologies, such as screen readers, to navigate websites.
Alt-tags provide a textual description of the image, allowing these users to understand and interact with the content. By incorporating alt-tags, you ensure your website is accessible to all users, regardless of their abilities.
We’ll use the image below to demonstrate our examples of both a poorly optimized alt-tag example and a well-optimized alt-tag.

Here’s an example of a poorly optimized alt-tag that you might come across on the internet:
Bad Optimized Alt-Tag:
Woman, Box, Cell Phone, Shopping, E-commerce
This alt-tag is simply a list of keywords bundled together. While it contains some relevant keywords, it lacks flow and coherence. This makes it challenging for individuals relying on accessibility tools to comprehend the alt-tag.
Additionally, it doesn’t provide sufficient information to search engines like Google. To optimize alt-tags effectively, it’s best to be as descriptive as possible.
Now, let’s look at an example of a well-optimized alt-tag for the same image:
Good Optimized Alt-Tag:
Woman holding mobile phone while signing document on top of cardboard box, engaged in conversation with e-commerce representative
This alt-tag is highly descriptive and provides ample context about what is happening in the image. It allows individuals using accessibility tools to understand the image content easily. Moreover, this alt-tag offers valuable context for Google to crawl and index the image.
Here’s a Pro Tip!
Include Relevant Keywords that can assist in image ranking. These keywords might include your brand name or target keywords. However, ensure that the alt-tag content remains relevant to the image.
Keyword Stuffing, which involves stuffing alt-tags with unrelated keywords, is strongly discouraged. Google penalizes such practices, so it’s essential to maintain relevancy and provide meaningful information.
Now, you might be wondering how to implement alt-tags for your images. Fortunately, most modern website builders make it relatively easy to add alt-tags.
Platforms like WIX and SquareSpace provide a simple process—just click on the image, select the edit option, and scroll until you find the alt-tag section.
For website builders like WordPress, implementing alt-tags might require a few more steps. But don’t worry! There are plugins and online tutorials available to guide you through the process. With a little guidance, you’ll be able to optimize alt-tags seamlessly and enhance your image visibility and accessibility.
Tip #2: The Importance of Descriptive File Names
We’ve all been there—downloading images to our computers without giving much thought to their file names. It may seem harmless, especially when we can visually recognize the images.
However, when it comes to search engines, they require a little more guidance. Selecting a descriptive file name for your images is important for both search engine optimization (SEO) and image ranking.
Search engines rely on various signals to understand the content and relevance of your images, and file names play a vital role in providing context. By choosing descriptive file names, you provide search engines with valuable information that helps them determine the content and purpose of your images, ultimately improving their visibility and ranking in search results.
Let’s take the same image from before and optimize its file name.
Poorly optimized descriptive file name example:
IMG_12345.jpg
This file name, IMG_12345.jpg, provides no information about the content of the image. It’s generic and fails to convey any meaningful details. Search engines will struggle to understand what the image represents, leading to missed opportunities for visibility and engagement.
Well-optimized descriptive file name example:
woman-holding-mobile-phone-signing-document-cardboard-box.jpg
In this example, the file name accurately describes the image content. By incorporating these descriptive terms, the file name provides search engines with a clear understanding of the image’s subject matter.
This descriptive file name improves the chances of the image appearing in relevant search results and attracts the attention of your target audience.
Tip #3: Choosing the Correct File Format
Choosing the right file format plays a vital role in site speed, which is an important aspect of technical SEO. Search engines prioritize websites with faster site speeds, often ranking them higher in search engine results pages (SERPs). Therefore, it’s best practice to make informed decisions when it comes to file formats.
Images can significantly impact site speed. Large image files can slow down the loading time of your website, leading to a poor user experience and potentially lower search engine rankings. By choosing the appropriate file formats, you can strike a balance between visual quality and file size, ensuring optimal site performance.
So, how do you decide which file format to choose, and what sets them apart from one another?
Let’s unravel the differences between these file formats and provide guidance on making the right choice. Each format has its strengths and best use cases, ensuring optimal image quality and site performance.
By understanding these distinctions, you’ll be equipped to select the most suitable file format for each image on your website, striking the perfect balance between visual appeal and site speed.
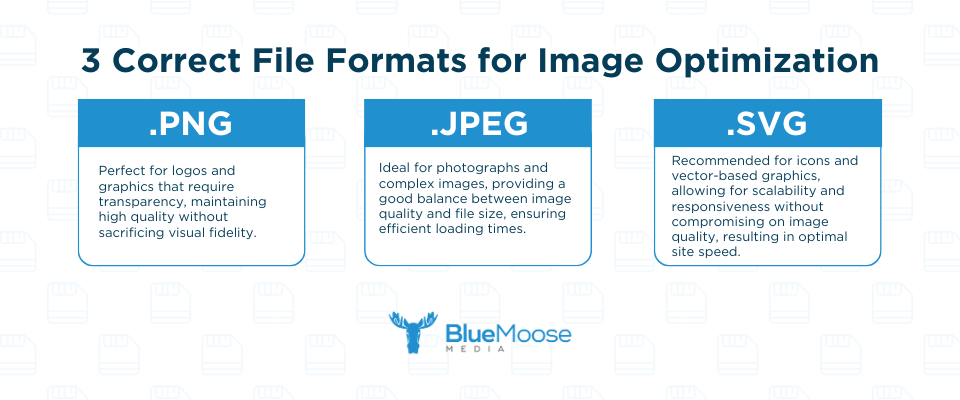
Here are our guidelines for selecting the correct file format:

PNG: PNG is an image format that preserves high-quality visuals. We recommend using PNG for elements like brand logos or hero images where visual fidelity is crucial. However, keep in mind that PNG files tend to have larger file sizes, so use them selectively to avoid bloating your website.
JPEG: JPEG is a commonly used and versatile image format that offers a good balance between image quality and file size. We recommend using JPEG for most images on your website, as it efficiently compresses images without significant loss of visual quality. This format is ideal for photographs, product images, and general website visuals.
SVG: SVG (Scalable Vector Graphics) is a unique file format that excels in scalability and responsiveness. It is primarily used for icons and vector-based graphics. Unlike raster-based formats like PNG and JPEG, SVG files are lightweight and can be scaled to any size without losing quality. We strongly recommend using SVG for icons on your website to optimize site speed and maintain visual consistency.
Here’s another Pro Tip!
A common mistake we often encounter is businesses using PNGs for icons instead of SVGs. While it may seem insignificant, this can significantly impact site speed, especially if multiple icons are used on a single webpage. By switching from PNG to SVG for icons, you can improve site performance and ensure a smoother user experience.
Conclusion
In this blog post, we explored the essential tips for optimizing images and enhancing your website’s visibility. Let’s quickly recap what we’ve learned:
- We discovered the importance of utilizing alt-tags to provide meaningful descriptions of your images. By optimizing alt-tags, you can improve accessibility, SEO, and the overall user experience.
- We discussed the significance of choosing descriptive file names for your images. Descriptive file names help search engines understand your visuals and contribute to better SEO and image ranking.
- We explored the different file formats and their respective use cases. By selecting the correct file format, you can strike a balance between image quality and site speed, ultimately optimizing your website’s performance.
Stay tuned for the next blog post in our series: Content Optimization. We’ll explore the power of optimizing your website’s content to captivate your audience and enhance your search engine rankings.
You’re Invited!
If you liked what you learned here, join our community of savvy marketers and entrepreneurs by subscribing to our monthly newsletter, The Monthly Moose.
You’ll receive valuable insights, tips, and updates on the latest trends in digital marketing and social media.
